1. What is printmaking?
A print is an artist-made original artwork produced in multiples through a repeatable process. Printmaking includes techniques such as woodblock, linoleum block, intaglio, etching, lithography, and silkscreen printing.
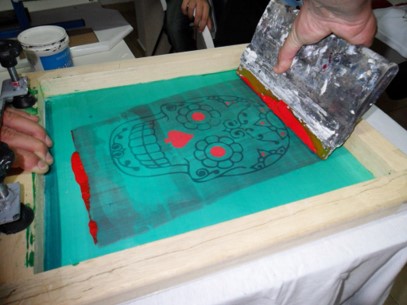
In silkscreen printing, ink is pushed through open areas of a mesh stretched across a frame. Areas outside the design are blocked so ink cannot pass through them.
The original tutorial was created by Rick Styner, Michael Le, and Katrinka Sanborn for EDEL 518B in Fall 2016.
2. Key vocabulary
Open each term for a quick definition.
Flood the screen
With the screen raised above the paper or fabric, move ink across the mesh so the open areas are filled before making the print stroke.
Pull the print
Make the printing stroke by drawing the squeegee across the screen so ink passes through the open mesh onto the material below.
Stencil
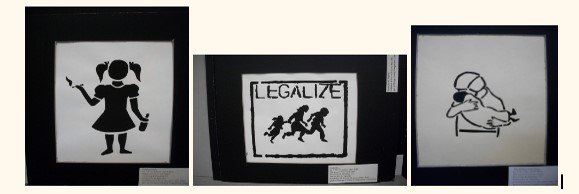
A cut or prepared mask that blocks ink everywhere except the intended design.
Stencil knife
A small, sharp cutting tool used for precise stencil work.
Card stock
Thick, smooth paper commonly used for cards, covers, and practice prints.
Open screen
An area of mesh that has not been blocked and therefore allows ink to pass through.
Block out
Seal areas of the mesh so ink cannot pass through them.
3. Materials and how the screen works
Frame and mesh
A wood or aluminum frame holds polyester mesh tightly in place. Historically, silk was used, which is where the common name came from.
Ink and squeegee
Thick screen-printing ink is spread across the mesh and pushed through the open design with a squeegee.
Stencil and tape
The stencil blocks negative space. Tape seals edges and gaps so ink goes only where you want it.
4. Set up your printing station
Gather materials
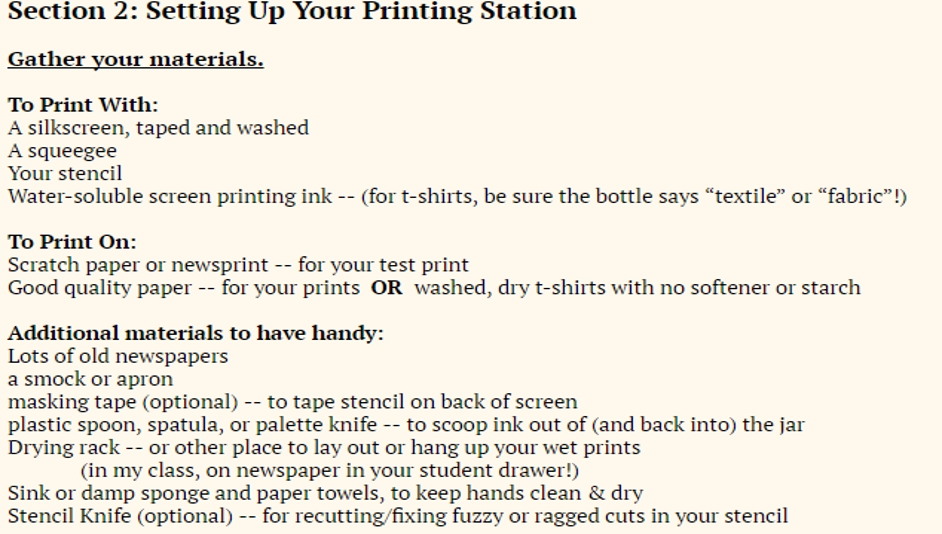
Prepare the screen, stencil, ink, squeegee, paper or fabric, tape, apron, cleanup materials, and a flat work surface.
Prepare the stencil
Cut or prepare the design carefully. Remember that areas you remove or leave open determine where ink will pass.
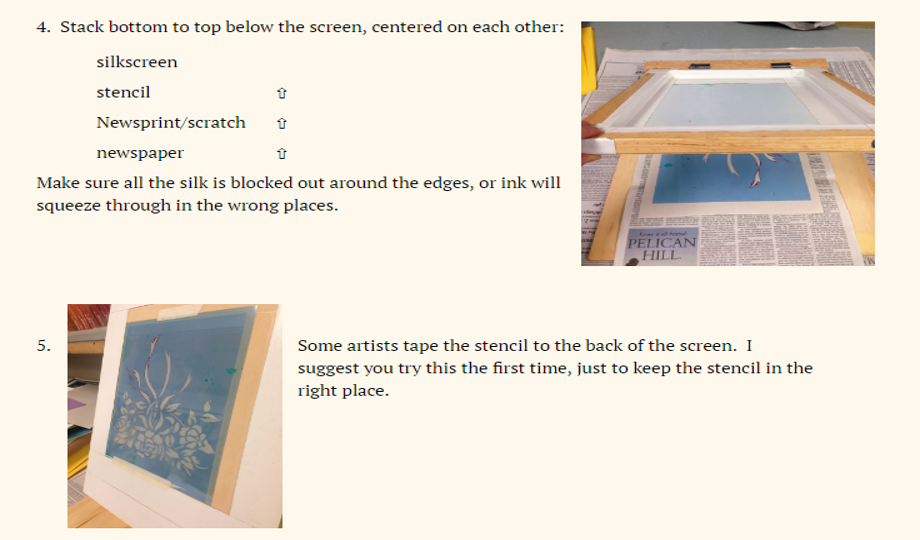
Attach the stencil
Position the stencil securely on the back of the screen so it stays flat while printing.
5. Flood the screen and pull a print
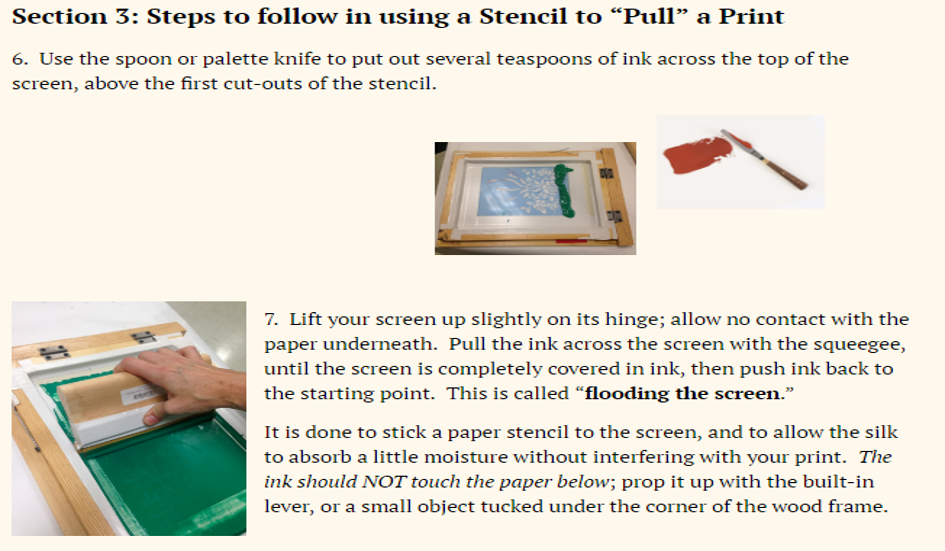
Flood first
Raise the screen slightly and move ink across the mesh without forcing it through aggressively. The goal is to fill the open mesh with ink before the print stroke.
Lower and print
Place the screen onto the paper or fabric and pull the squeegee across with firm, even pressure.
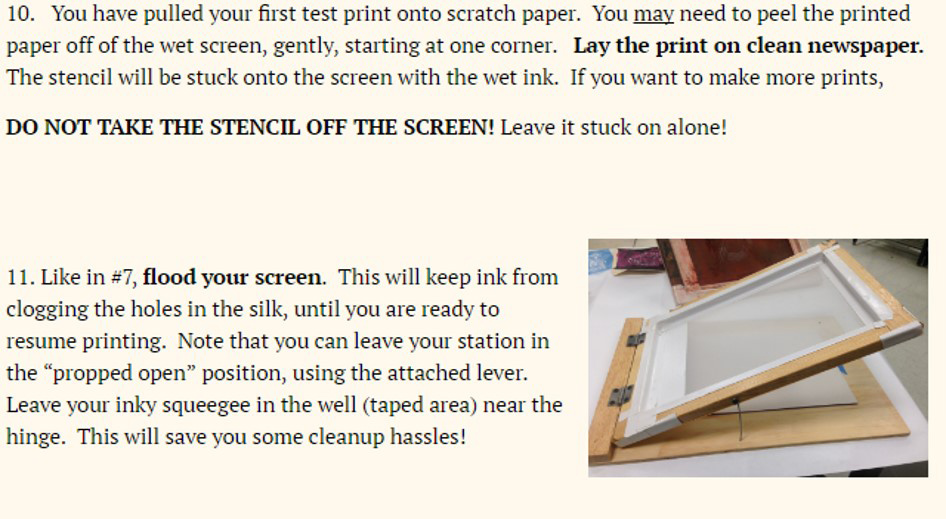
Lift carefully
Raise the screen without sliding it across the fresh print. Move the finished piece to a safe drying area.
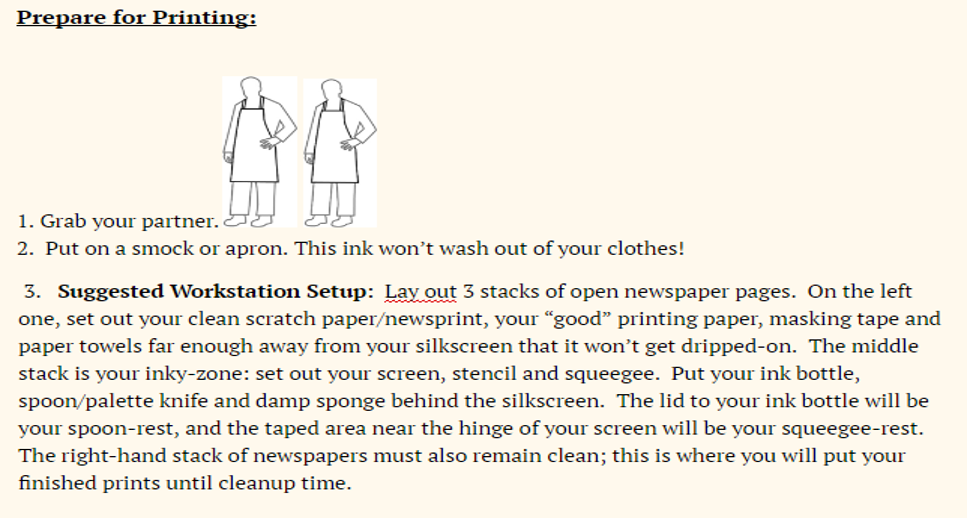
Tip: Work with a partner when possible. A partner can help hold materials steady, gather supplies, and troubleshoot problems.
6. Evaluate and troubleshoot the print
Look for an even image
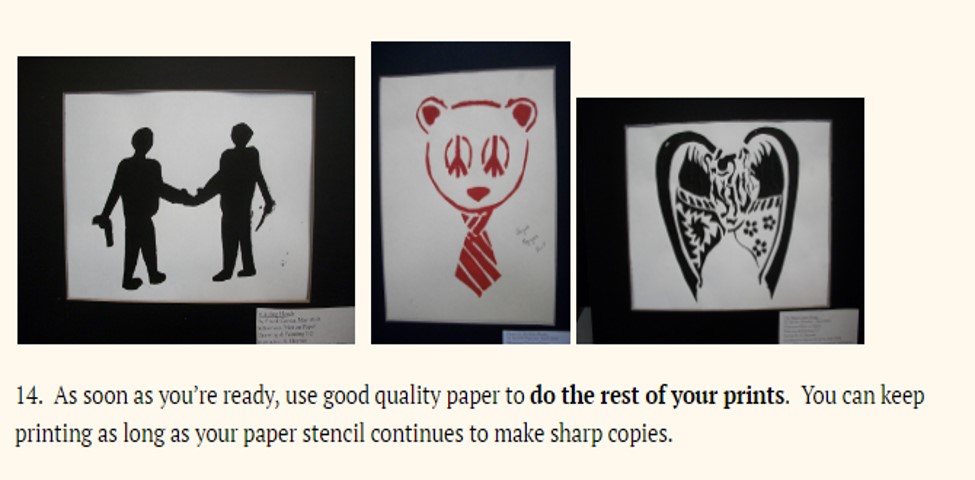
A strong print has a clean, readable design, good registration on the paper or fabric, and an even layer of ink.
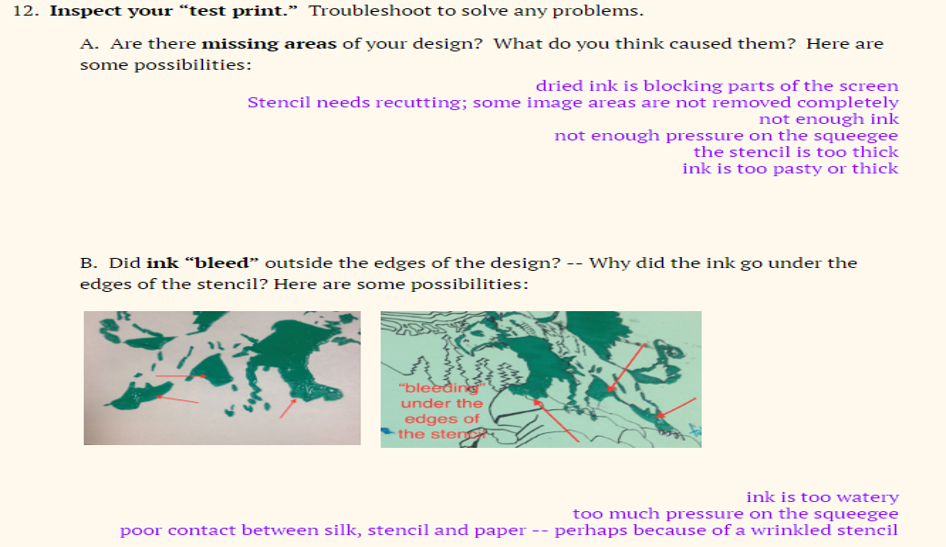
If the print is messy
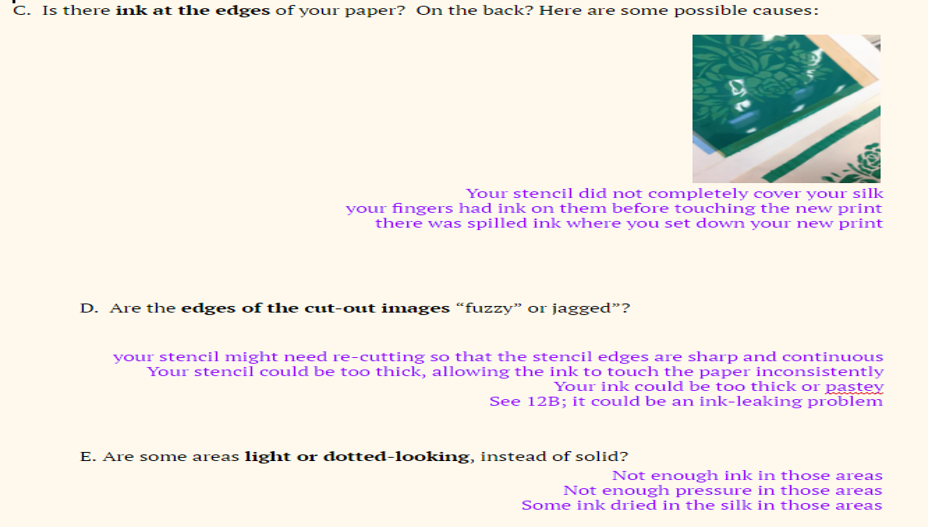
Check for watery ink, a wrinkled stencil or mesh, movement during the print stroke, gaps around blocked areas, or excessive pressure.
If parts are missing
Look for dried ink blocking the mesh, insufficient ink, uneven squeegee pressure, or an area that was accidentally blocked.
7. Self-check quiz
About this archived project
This tutorial began as an interactive graduate-school project created in 2016. The original presentation used an iSpring/Flash-era player and dozens of generated support files. In this version, the instructional content and original project images are retained, while obsolete Flash components have been removed and the lesson has been rebuilt as standards-based HTML, CSS, and JavaScript.